How to Install WordPress Using Softaculous in cPanel
Installing WordPress using Softaculous in cPanel is a simple process that can be completed in just a few clicks. This method is perfect for beginners who want to set up a website without any technical complications. This guide will walk you through the step-by-step process of installing WordPress using Softaculous.
What is Softaculous?
Softaculous is an auto-installer available in cPanel that allows you to install various applications, including WordPress, with minimal effort. It automates tasks such as database creation, file setup, and configuration, making it a popular choice among users.
Steps to Install WordPress Using Softaculous
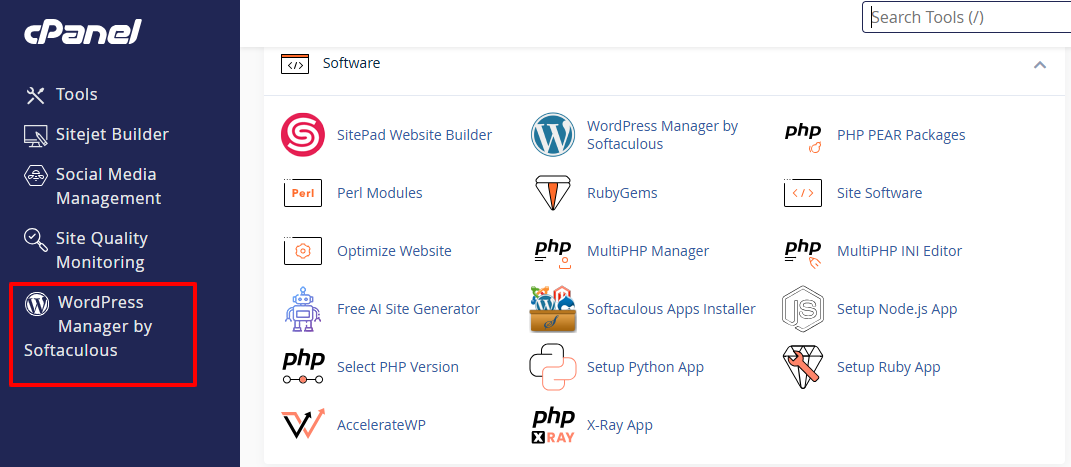
- Log in to your cPanel account.
- Scroll down to the Software section and click on WordPress Manager by Softaculous.

- Alternatively, you can select WordPress Manager by Softaculous from the left-side menu.

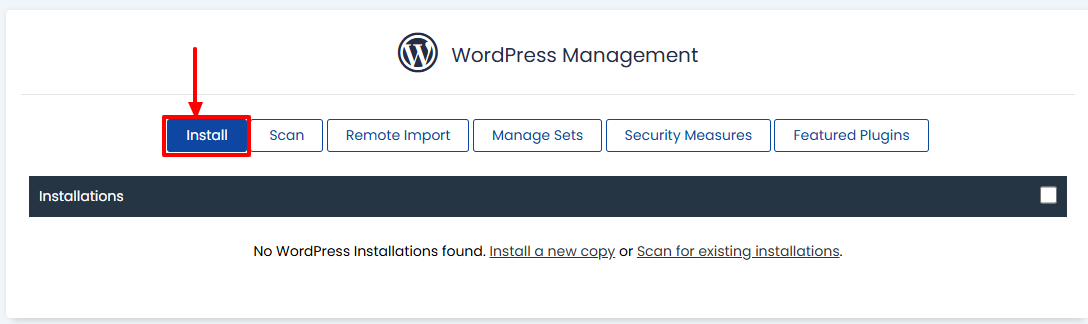
- Click Install in the WordPress Manager to begin the installation.

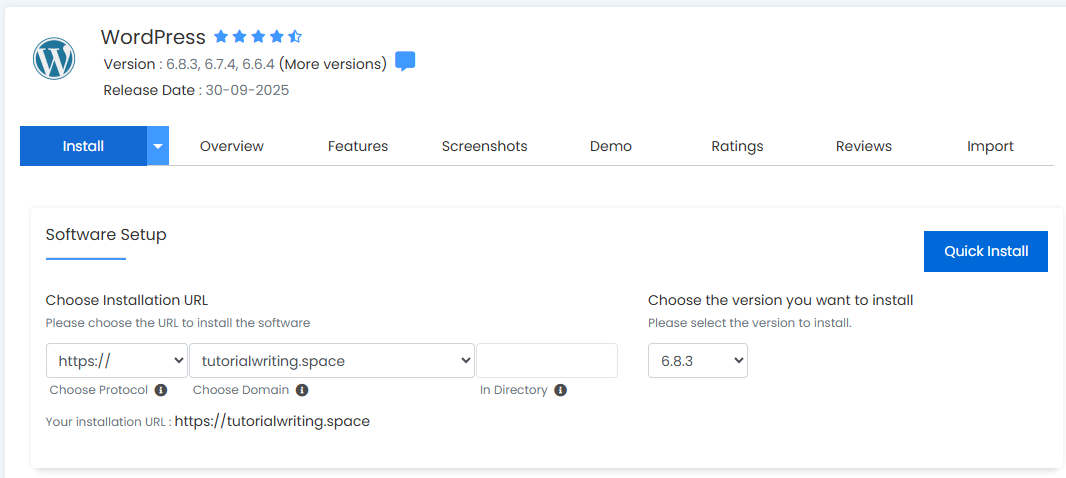
- Fill in the required information for your site.
- In the Software Setup section:
- Choose Protocol: Select either http:// or https://. It is recommended to use HTTPS if you have an active SSL certificate for better security.
- Choose Domain: From the dropdown, select the domain or subdomain where you want to install WordPress.
- Directory: Leave this field blank to install WordPress in the root directory (yourdomain.com). If you want to install it in a subfolder, enter a folder name here (e.g., blog for yourdomain.com/blog).
- WordPress Version: Select the version you want to install. It’s advisable to use the latest version for better features and security.

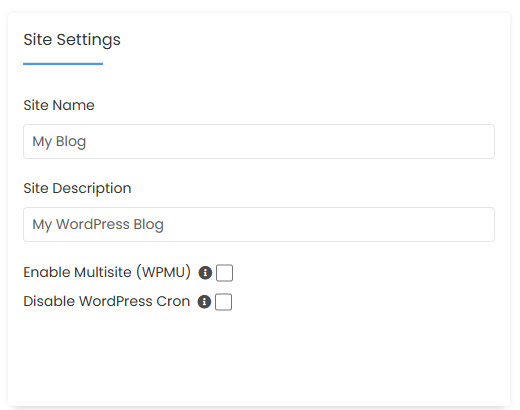
- Site Settings:
- Site Name: Enter the name of your website (this will appear as the site title).
- Site Description: Provide a brief description of your website (used as a tagline and helps with SEO).

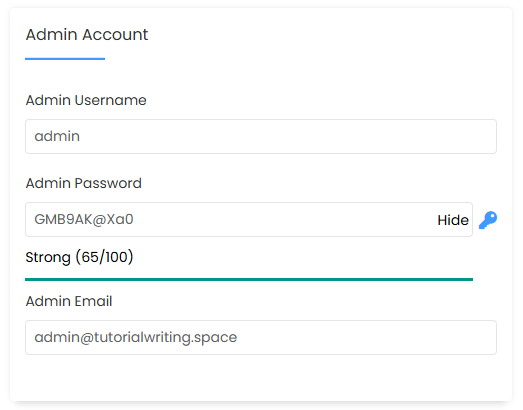
- Admin Account:
- Admin Username: Choose a unique and secure username for your WordPress admin dashboard.
- Admin Password: Set a strong password. You can also click the key icon to generate a secure password automatically.
- Admin Email: Provide an email address to receive notifications and password recovery options.

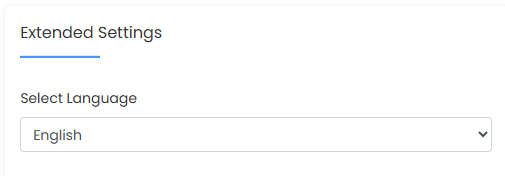
- Extended Settings:
- Select Language: Choose your preferred language for the WordPress installation.

- Select Language: Choose your preferred language for the WordPress installation.
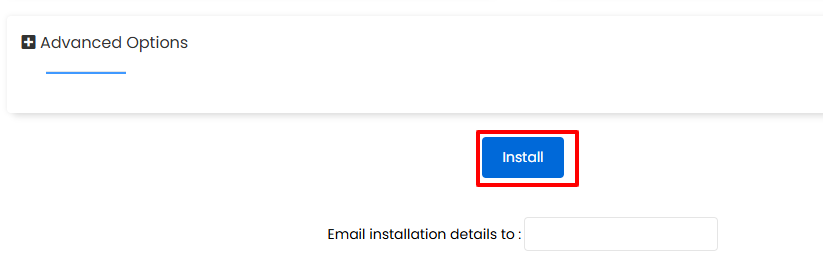
- Advanced Options: Click the plus (+) icon to expand this section. Here, you can:
- Database Name: Change the default database name if desired.
- Table Prefix: Modify the prefix (e.g., wp_). A unique prefix can enhance security.

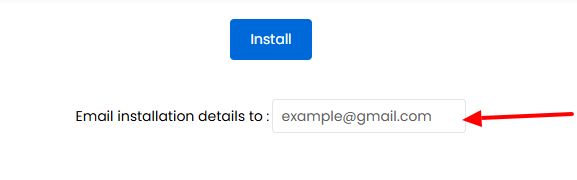
- Enter your email address in the Email installation details box to receive all configuration information after the installation is complete.

- Double-check all the information you’ve entered to ensure accuracy.
- Click the Install button at the bottom of the page.

- Once the installation is complete, a success message will appear, confirming that WordPress has been installed successfully. You will see the WordPress login URL, typically yourdomain.com/wp-admin.

- Click on the login URL or enter it into your browser. Input your admin username and password to log in to the dashboard.


Installing WordPress via Softaculous in cPanel is a quick and efficient process, taking just a few minutes. Your new site is now ready for further customization and content creation. Don’t hesitate to explore the vast range of themes and plugins within WordPress to enhance your site’s functionality and visual appeal. Happy website building!